Whether you're just joining us, refreshing your tech knowledge, or deep-diving into research before taking the plunge — our manual is here to provide all the essential information and technical specs that will have you set up in no time. If you ever need anything else along the way, don't hesitate to reach out. We'd love to geek out about music and recording with you!

Registration and Warranty
First things first, we strongly recommend you take a quick minute and register your microphone. All Ohma microphones come with a 1 (one) year limited warranty for the original owner, starting from the date of the purchase. To extend your warranty to two years, please register your product online via our registration page.
Getting Started
-
- Connect your microphone. All Ohma microphones use a balanced XLR cable connecting from the bottom stem of your mic and going into the XLR microphone input of your interface/preamp. Slide your microphone into the Ohma mic clip before connecting your mic cable. The mic clip is almost fully closed and you won’t be able to attach it otherwise.
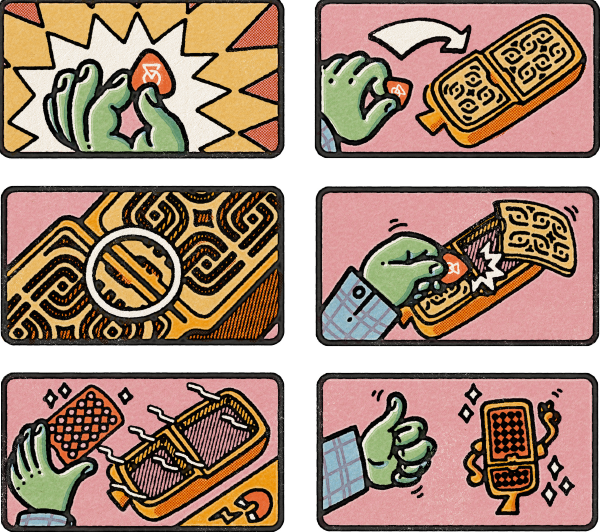
- Choose your screen set(s) and make sure they are magnetically secured in place.
- Engage +48v phantom power from your interface/preamp/stand-alone power supply —Yes! Both the Ohma condenser and Ohma Ribbon require phantom power. Make sure your microphone cable is connected before engaging phantom power. Please also make sure phantom power is disengaged before removing the cable as well.
- Allow the mic to “heat up” for a few moments, roughly 60 seconds (not literally — just give it a moment to come to life). Verify you have signal and set your desired input level.
Microphone Types
-
The Ohma Condenser microphone features our signature capsule (“The Debby”) and a vintage Cinemag transformer for extra character. It is an edge-terminated construction delivering a timeless sound with detail and clarity.
-
The Ohma Ribbon microphone combines classic ribbon mic characteristics with added clarity and definition, providing smooth, and forgiving transients without sacrificing detail. It requires +48v phantom power and is compatible with all types of recording setups.

What's in the box?
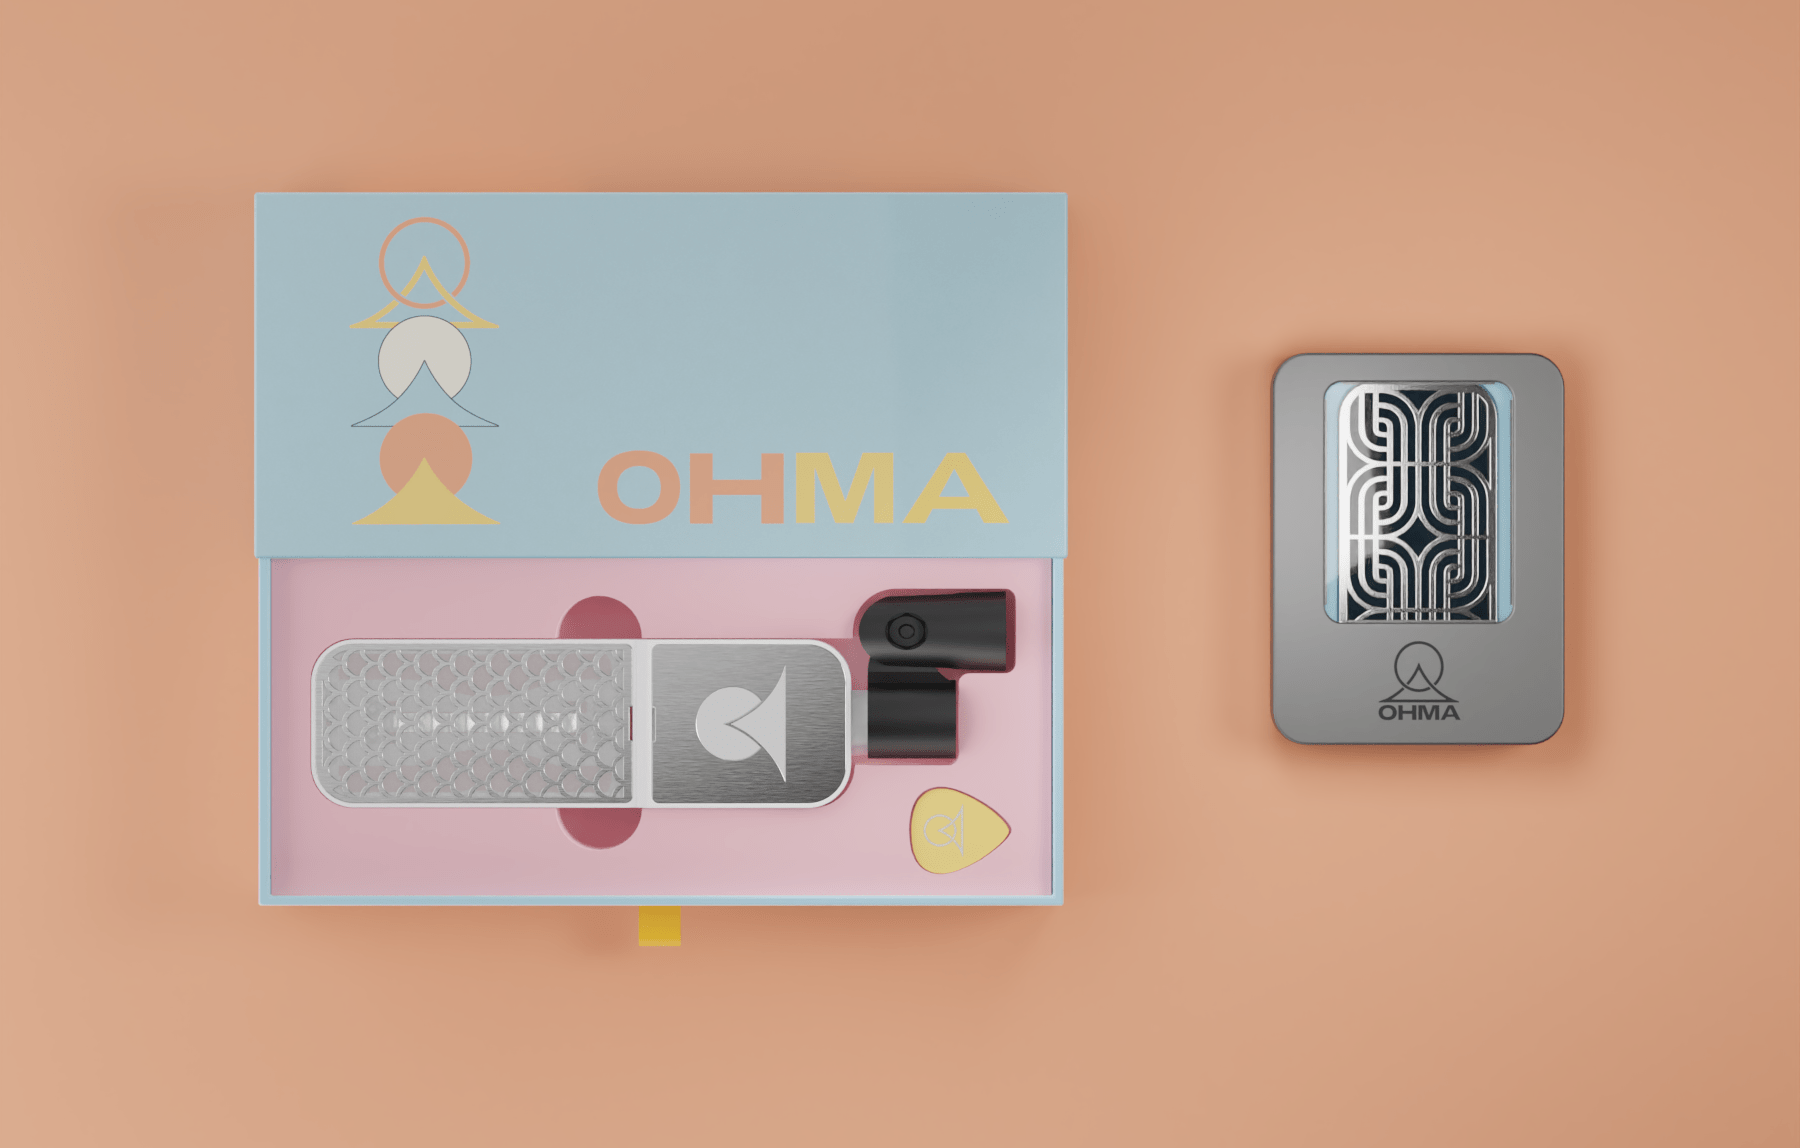
Each Ohma microphone package comes with a drawer box, two Ohma 1.21 mm guitar picks, and a black or white microphone clip. The color of the mic clip will correspond to the fabric used inside the microphone. If you bought an extra screen to replace the Ohma logo screen, it can be found underneath the microphone in the box.
Screen sets and custom-branded screens are also available for purchase and come in a separate screen set case along with two additional Ohma guitar picks. Both mic clip colors can be purchased here.

About Ohma Screens
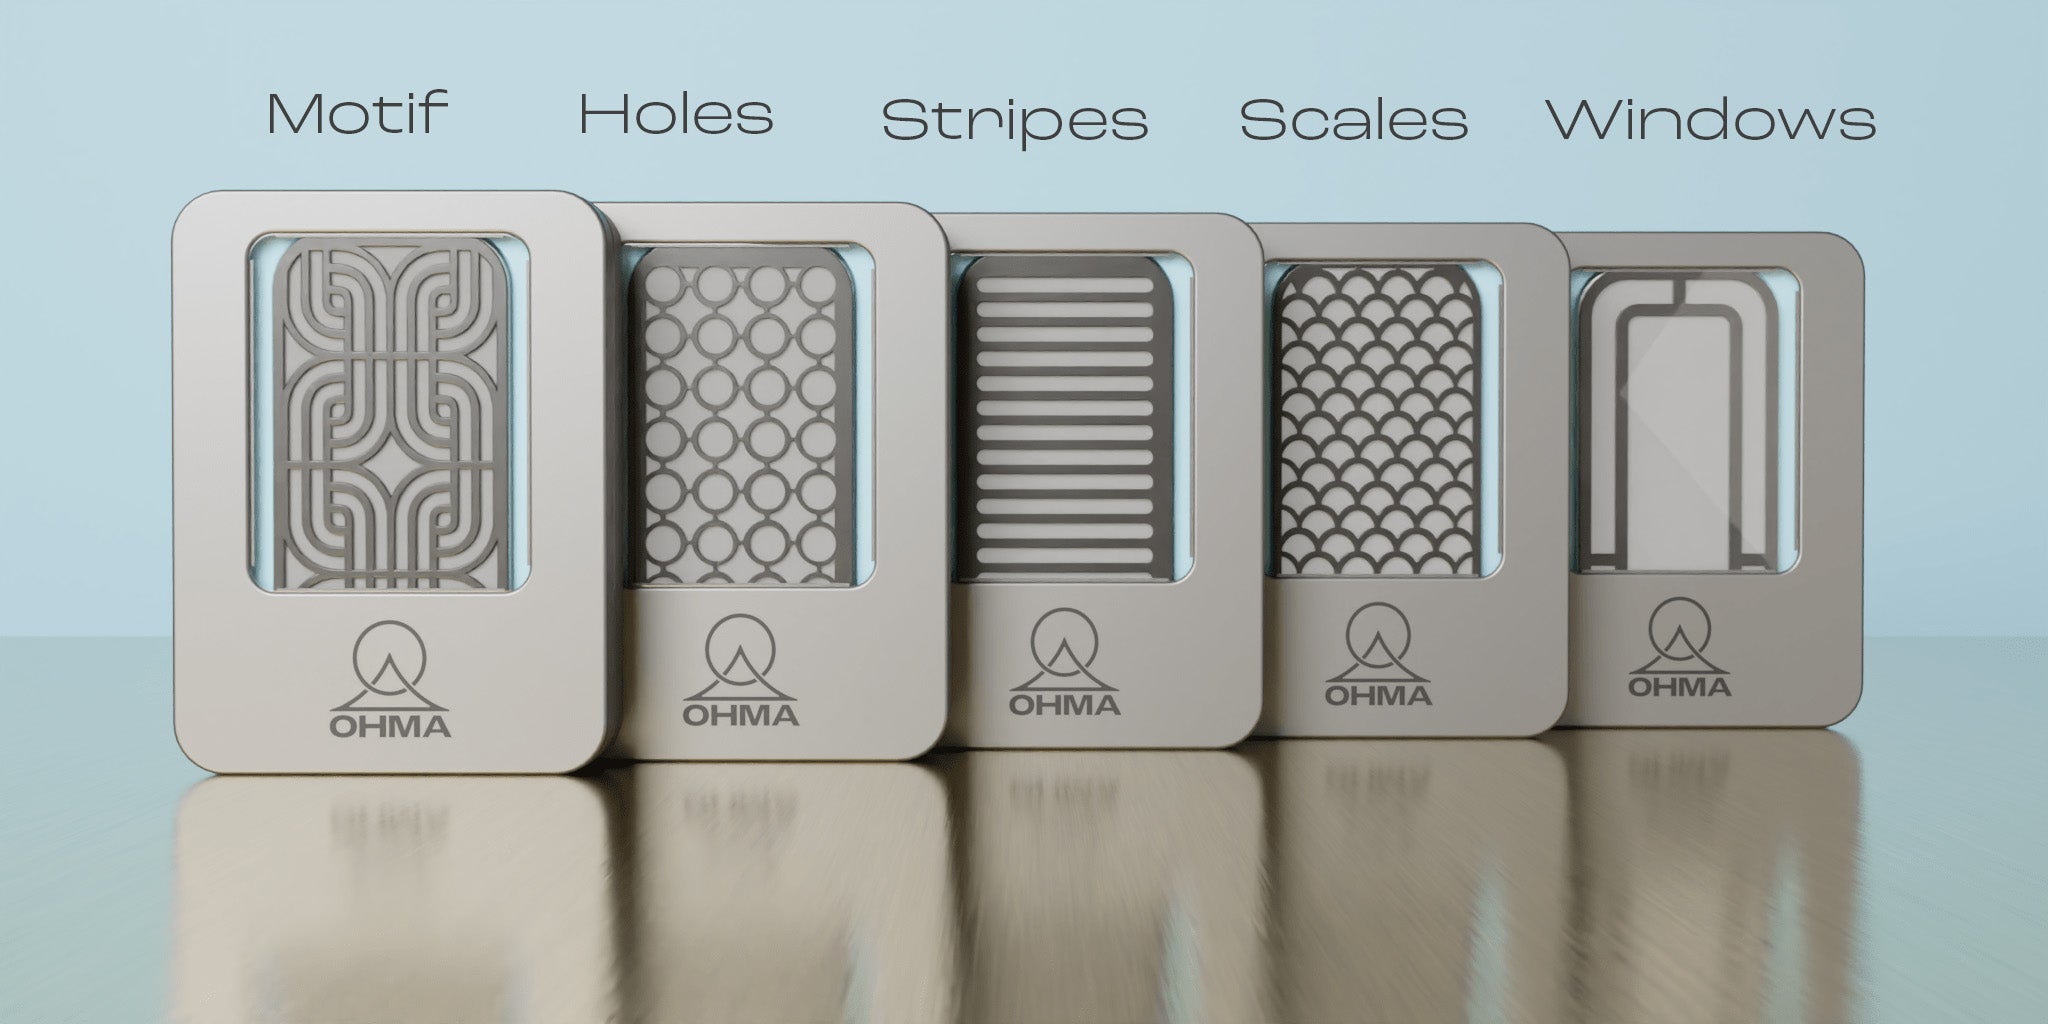
Ohma’s swappable magnetic screens offer an opportunity to further sculpt and customize the sound of your mic in unique ways. To give you an idea of what you can expect from each screen, here is a general overview of their sound and possible use cases. But keep in mind that the way your room and signal chain interacts with these mics will vary greatly. Take this as an inspiration and then have fun experimenting.
About Screen Sets
-
Ohma screens let you swiftly explore and customize your sound with creative finesse. Think of them each as different colors, shades, and textures on your artist’s palette; tools in a creative toolbox of sound-shaping and problem-solving.
With Ohma screens, the freedom to create is yours for the taking. Swap the front and back screens freely to alter the overall response and tonality of your mic and choose whatever screen suits your needs.
We’ve designed the Ohma Ribbon and Ohma Condenser to have a strong and pleasing character in their natural state — giving you a perfect starting point to shape your own sound.
-
All our products are subject to quality control.
Our warranty provides a guarantee against manufacturer defects.
The guarantee covers any manufacturing, design, or material defect. Please notify us within 2 months of noticing any defects.
It does not cover blows, improper use, or other issues that are not attributable to a manufacturer defects. -
Yes, we offer full and partial refunds.
Please enquire for more information about our Refund policy.

Specifications
Download the technical specs and response frequency graphs for our ribbon and condenser mics.
Some gentle reminders
Congratulations! You’ve made it to the exciting “disclaimers” and “what-not-to-do” portion of the manual. What you do with your mic is your own business, but here are some things to avoid to ensure your microphone stays in spec, in warranty, and in good condition.
- Do not plug-in / unplug your mic while phantom power is engaged.
- Mute any speakers and/or headphones, or mute your mic before swapping screens.
- Always use caution when the mic is “screenless” to avoid potential damage internally.
Please cover your microphone when not in use. The magnets in the body and ribbon transducer can attract tiny metal particles if stored incorrectly.
If you are a lucky owner of Brass screen set, know that the raw metal will patina over time if not cleaned periodically. The patina that develops on your brass screen set over time may give it a unique vintage look and feel, but if you want to keep the original shine and gleam, just give it some TLC every now and then.
-
Domestic shipping can take up to 5 business days.
Foreign shipping could take up to 14 business days.
Due to global supply chain challenges, shipping times could be longer than usual. -
We would like to express our heartfelt gratitude to everyone who stood by us while we built Ohma World. Your support since 2019 has been essential in helping this project come to fruition. We are especially thankful for the unwavering encouragement of our friends and family, without whom progress would not have been possible.
We owe a great deal of gratitude to our vibrant community of beta testers. Your enthusiasm has been an invaluable asset and your feedback has played an important role in making Ohma World the experience that it is today. We are immensely thankful for having you join us on this journey.
Love,
The Ohma Team 💛
Charlene Gibbs, Sammy Rothman, Nathan Bowers
Are we missing something? 🤔
If you have any other questions that weren't covered in the manual, please don't hesitate to reach out. We're always striving to make our customer experience better and ensure everyone gets the most out of their microphone. Let us know if there's anything else we can do to help.
